
How Do I Use Thatch Tiles?
How Do I Use Thatch Tiles?
Thatch tiles come in lots of different shapes to cover your roof. They also come in a variety of styles.
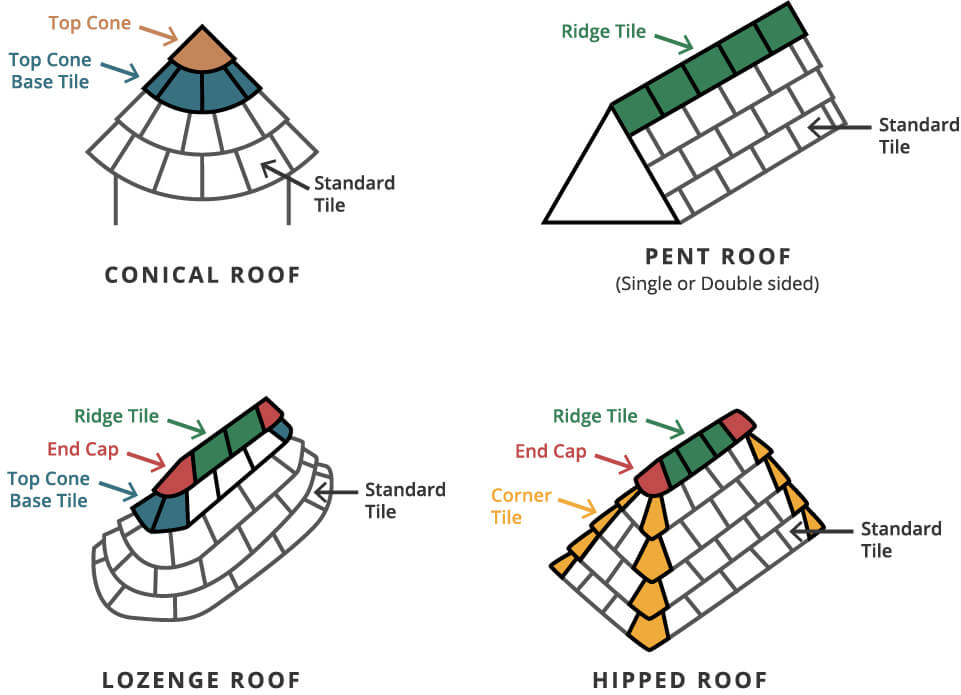
Different Types Of Tile
|
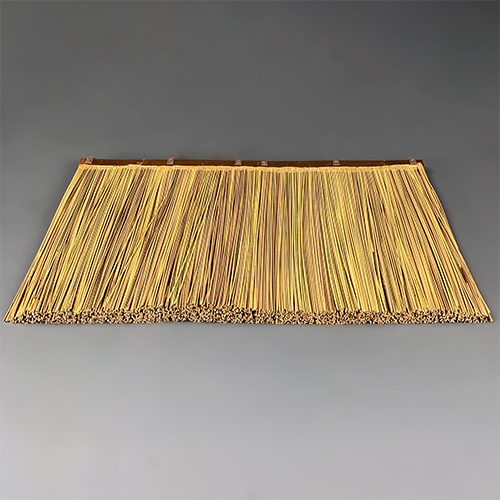
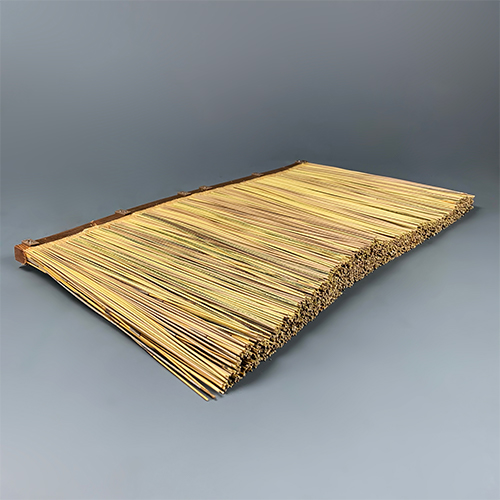
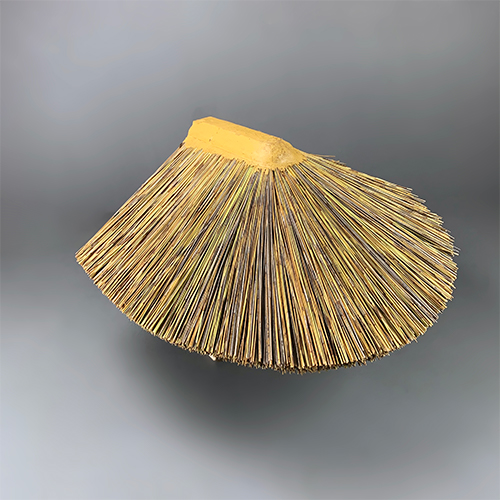
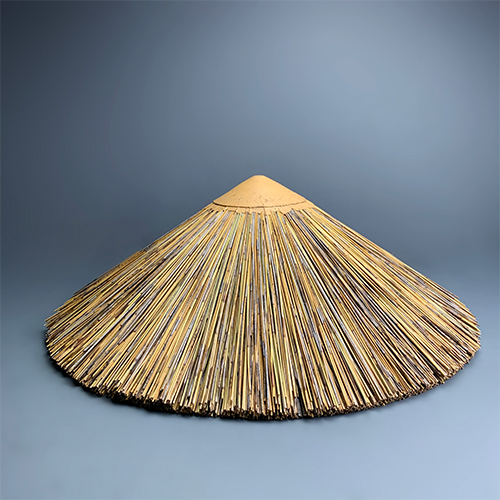
Standard Tile |
|
Top Cone Base Tile |

|
Corner Tiles |
|
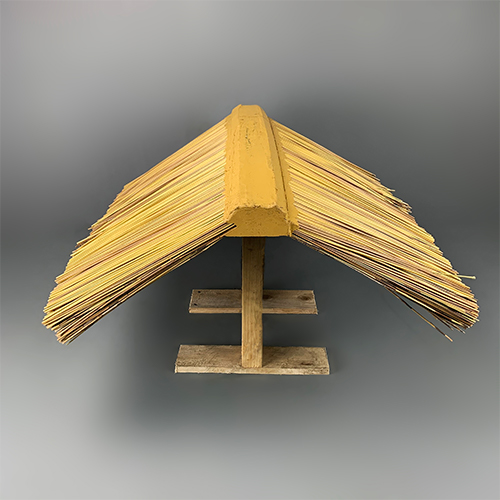
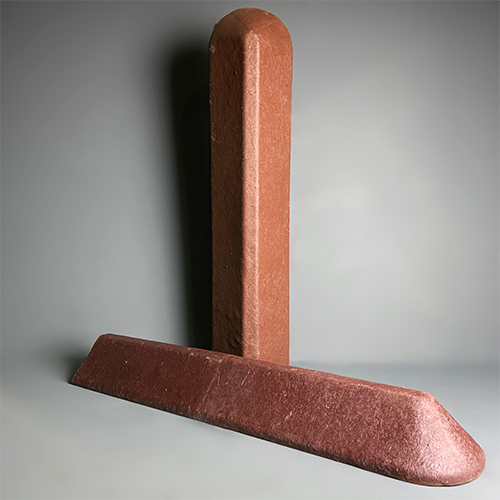
Ridge Tiles |
|
End Cone |
|
Top Cone |
|
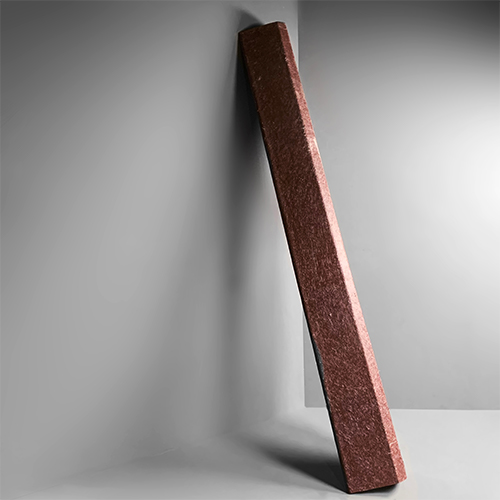
Ridge End Moulding 1.2 m long |
|
Ridge Centre Moulding 2m long |
Apply tiles in layers from the bottom of the roof in 30 cm (12″) steps working upwards.
The bottom layer or ‘eve’ of the thatch is made up of standard ‘Thatch Tiles’. Each layer going up the roof is also made up of Standard ‘Thatch Tiles’ until you reach the top layer. The exception to this is the ‘Smooth Natural Tile’. With this option the eve layer is made up of ‘Cape Reed Thatch Tiles’ for thickness. Each layer up the roof is then ‘Smooth Natural Thatch Tiles’ which should give a smooth finish with no steps.
For the top layer use 2 /3 ‘Top Cone Base Tiles’. These are designed to fan out whilst retaining a defined bottom edge, they are no thicker than the standard tiles and will look no different. At the peak or ridge of the thatch is the Top Cone, or Ridge Tile and End Cap, dependent on the shape of your roof.
If your roof is square, or has very pronounced hips, you will need Corner Tiles to fit around the 90-degree corners. When calculating your needs, these take the place of 1/3 of a tile from your overall square meterage.
Allow approximately 3.5 tiles per m square (10′ square).
If you would like us to work out how many you need, simply fill in this form and we can estimate it for you. Please measure your roof as accurately as possible and email us a photo with your name and address so that we can link the picture to your quote.
Remember to measure the thatch, not the roof structure- when you measure the diameter, it should be from the bottom of the thatch on one side, to the bottom of the thatch on the other side.